
A bathroom renovation might seem like a complicated dance of moving parts, but it’s actually a simple process of time management. This guide will take you through the six steps to renovating your bathroom.
Step One: Plan
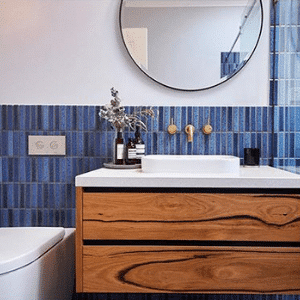
Think about what you like about your current bathroom and what you want to change. Many bathrooms may not even need a complete makeover – just changing tiles or fixtures can give the room the facelift it needs.
If it’s more of a layout issue, you will need to plan what you want to move and where, keeping in mind the plumbing lines for the toilet, sink, shower and/ or bath. Engage the services of a draftsperson or architect to draw up your plans, which you will need before you even talk to a builder, tiler, or plumber. You will also need to be aware of your state building regulations and codes that would affect your planning, such as minimum distances between sinks and electrical outlets.
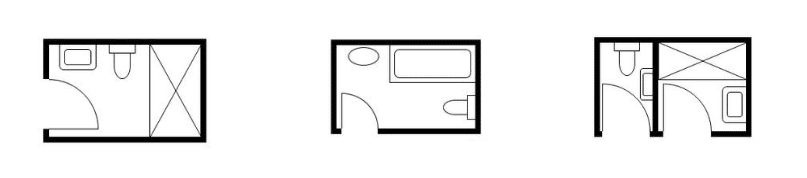
One bathroom, three different ways: Would you prefer a bath, a shower or a separate powder room?
You’ll also need to plan your budget. As a starting point, your budget should include line items for:
- Demolition
- Waste Disposal
- Plumbing
- Electrical
- Lighting
- Waterproofing
- Tiling, plastering and painting
- Fixtures, including tapware, basins, showers, mirrors, vanities
- Certificates of compliance and approvals (depending on your local council requirements)
Depending on whether you are replacing fixtures and tiles or recreating the whole room, bathroom renovations can range anywhere from $10,000 to $30,000 AUD. You should also make sure to have a contingency plan (usually 15% of your budget) for any unknown expenses that may come up along the way.
Step Two: Get the Team Together
While the first thing you think of when it comes to bathroom in terms of tradespeople are plumbers, some find it best to get a builder first. While plumbers take care of the plumbing, the builder can manage the project from demolition to completion and coordinate other trades.
Although some who manage the project themselves find it a stressful exercise, especially if they make a mistake that an experienced tradesperson would know to avoid. But with proper planning and a reliable team, renovating your own bathroom can be a very positive and rewarding experience.
The tradies you will need may include:
- Plumber
- Builder
- Electrician
- Tiler
- Waterproofer
- Painter
Top Tip: When requesting quotes from trades, make sure you already have an idea of what fixtures you want and have clear documentation of your plans. From a plumbers point of view, they don’t need to know what brand your fixtures are, but if they have the style, they can quote accordingly – such as shower rail or shower head, back to wall or freestanding bath and under or top mount sink.
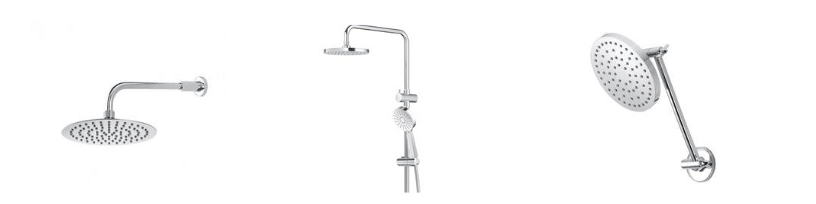
Which type of shower do you want in your renovation?
Whether it is a rain shower, twin shower system or shower head, the plumbing needed to get your water running is as unique as the style of fixture you choose.
Step Three: Disconnect and Demolition
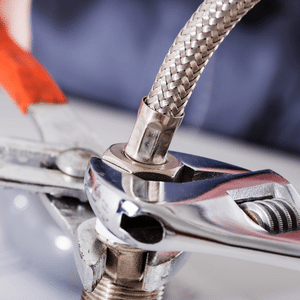
Once the plans and contracts are signed, it is time for the work to begin! The first step of labour is disconnection.For plumbers, this means removing tapware, valves toilets and capping services where necessary. For electricians, it’s removing power points and disconnecting wires.
Once disconnection of services is complete, it is time for demolition! Depending on how big your project is, this could include taking out the shower screen, bath or removing the plaster and tiles on the floor and walls where plumbing needs to be rearranged. You may wish to remove the plaster and floorboards yourself, but please remember to assess for asbestos and follow OH&S guidelines. Then grab some safety goggles and get started!
Step Four: Rough in
Rough in means to bring in the various services (plumbing, electrical etc) to the space, but not making the final connections. If relocation of any pipes is required, this is the part of the process when it happens.
In most cases, the plumber does their rough in first, followed by the electricians. Ensuring that all measurements are correct is incredibly important during rough in, as having your tap even a few millimetres out can mess up your tiling – a very expensive problem to fix.
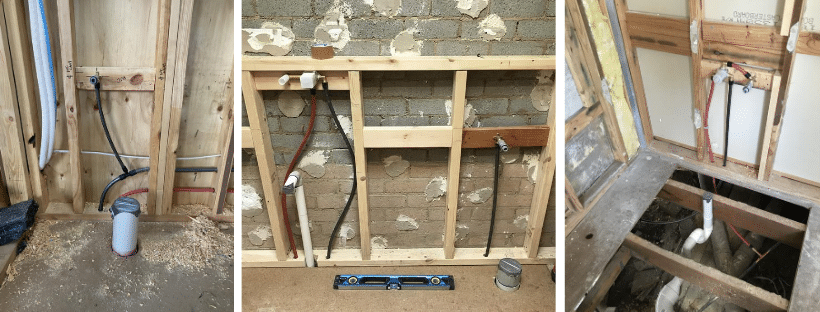
Rough in off a toilet (left), a wall hung vanity and toilet (middle) and a bath (right). The sewer pipes in the floor are temporarily sealed with tape so as not to smell.
Step Five: Install wall and floor finishes
The next step in a standard renovation is to install the wall and floor finishes. The general order is:
- Install plasterboard or cement sheet
- Waterproofing
- Tiling
- Grouting
- Painting
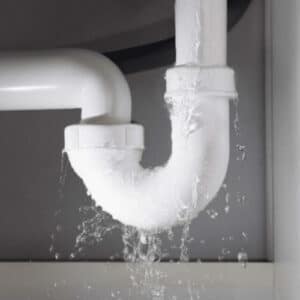
Not all waterproofers are tilers and not all tilers are waterproofers, so make sure you know what each of your trades can and can’t do. As plumbers, we often come across leaks in ceilings or wall cavities that are due to incorrect waterproofing, so make sure your trades get it right the first time, and are qualified to do what they do.
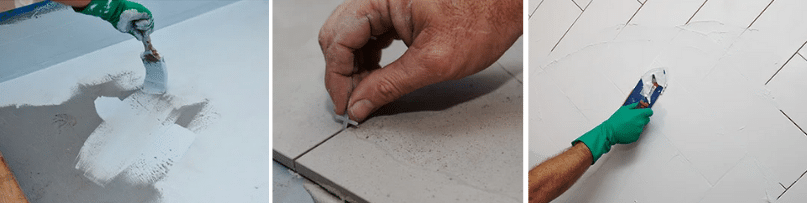
Important elements of wall and floor finishes include waterproofing (left), using tile spacers to install tiles (middle) and grouting (right).
Step Six: Fit off, Clean and Decorate
The final stage of the process (from the trades point of view) is fit off. This is when the plumbing and electrical fixtures are connected to the services installed in the rough in stage. Fit off includes installation of toilets, shower screen, taps and mixers, mirrors, towel rails and more.
After fit off, nearly all of your team of trades have completed their part of their job, so it is a perfect time to organise a deep clean. This will remove any of the dust and dirt from the rough in, tiling or grouting parts of the job. This stage also often includes putting caulking/ silicone between the plaster and tiling, or tiling and fixtures, which makes the space neat and virtually seamless.
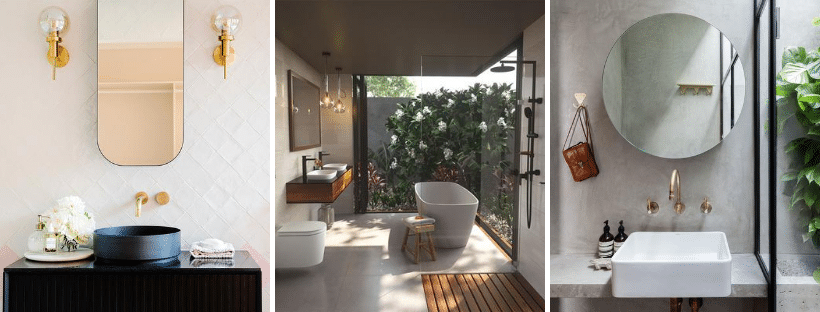
You are then free to style your bathroom however your please – hang pictures, add plants and any final touches.
Take care of your bathroom to ensure you get the most of out it – regularly clean your fixtures, check for wear and tear, and call a plumber if you notice any leaks or drainage issues straight away.
Top Tip: Save the numbers of your contractors, not only will a lot of your work be under warranty, but you can call them for any other issues you have. You can also give out their numbers to your friends who are admiring your breath-taking new bathroom!